I wanted to make a chart for their daily responsibilities and then another one for chores that they will earn money for.
Supplies:
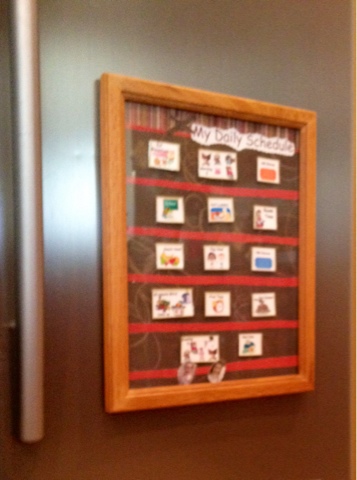
11.5" x 14.5" frame (from our local FREEcycle group)
Laminator or self laminating sheets
Chore cards from here: Confessions of a homeschooler and some from Home School Creations
Double sided tape or glue
2 different sheets of scrap book paper (and some scraps)
Glue dots
Heavy duty magnets
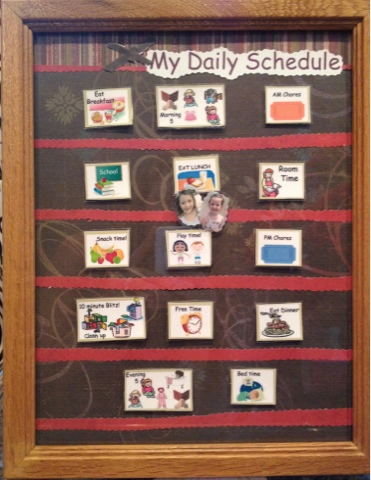
So I did do a little bit of editing to the chore cards to make them fit our needs. I shrunk them down so that each card was about 1" tall , and I changed some the pictures and text out.
I will be printing out the cards from Confessions of a homeschooler full size for the second chart I will be making later. The second chart will be for chores only with the tickets. As you can see on the daily schedule, there are two chore cards on the chart, one for AM and one for PM chores. So when they get to those they will just look at the chore chart. Both will be stuck to my fridge using heavy duty magnets.
I may be over doing it, but time will tell. Maybe I only need one chart, but for me this made sense.
Instructions:
1.Decorate the back of the picture frame (the Corkboard thingy that holds picture in the frame).
2.Print out your cards and laminate them. Also print out pics of your cuties' faces that are a little smaller in size as the chore cards and laminate them.
(make sure you lay them out in the frame after you put the decorated part back into the frame to make sure you don't waste any laminating pages).
3.Once the frame Is back together you can start sticking the chore cards to the glass with glue dots. This way you can change the schedule easily if you need to.
4.On the back of the frame make sure all metal is either tucked far enough in to protect your fridge , or you can just tape some cardboard over the metal ,like I did.
5. Stick heavy duty magnets to the back of the frame.
Enjoy your new schedule!